Smart Ways to Install Drywall for a Seamless Finish in 2025
Preparing for Successful Drywall Installation
Before embarking on any drywall installation project, proper preparation is crucial to achieving an outstanding result. Start by gathering all necessary materials and tools to ensure a smooth workflow. This includes selecting the right drywall sheets—whether standard or specialty boards like moisture-resistant types for high-humidity areas. An efficient drywall layout should be designed ahead of time, with accurate drywall measurements taken to minimize waste. Utilize a **drywall tools** checklist to cover essential items such as drywall screws, cutters, and safety equipment. Preparing your space by removing any fixtures and ensuring proper lighting can also contribute to a more manageable installation experience.
Selecting the Right Drywall Panels
The type of drywall panels you select can significantly influence the overall quality and functionality of your project. For general use, standard drywall sheets are sufficient, but consider using fire-resistant, soundproof, or moisture-resistant types for specialized applications. Each drywall thickness has its own benefits, with thicker boards providing better sound insulation while lighter panels can be easier to handle and install. Be aware of the specific drywall types available in your region, and remember to choose materials that comply with local building codes.
Essential Drywall Tools for Installation
A well-equipped arsenal of **drywall tools** can make the installation process efficient and successful. Start with basics like drywall screw guns for attaching drywall screws securely. A high-quality drywall knife is essential for slicing through sheets effortlessly. For more intricate projects, consider investing in advanced tools like a drywall lift to assist in ceiling installations, or **drywall cutting tools** that can enhance precision, especially when dealing with oddly shaped rooms or curves.
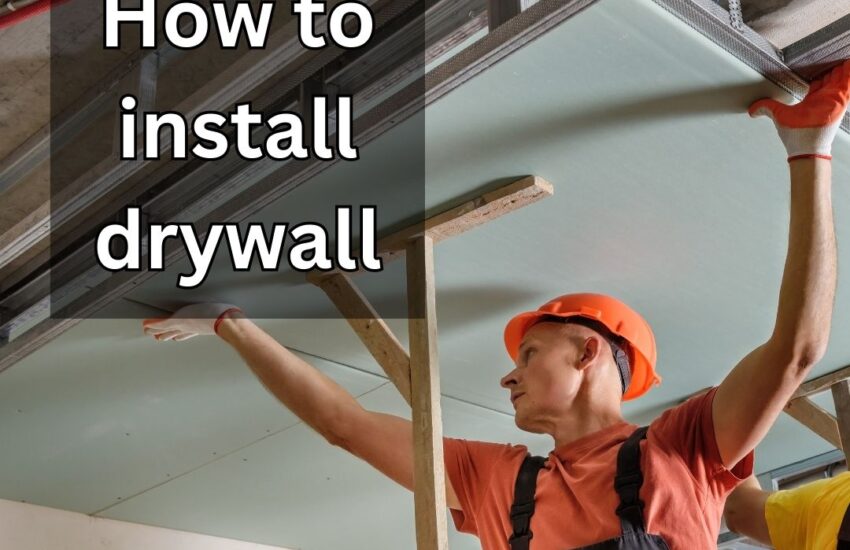
Efficient Techniques for Installing Drywall Sheets
The method of hanging drywall is pivotal to achieving a seamless finish. Employing effective drywall hanging techniques not only expedites the process but also reduces the risk of mistakes. When beginning the installation, start with the ceiling, securing sheets along the faces and ensuring joints are staggered. This technique prevents long seams that would be more difficult to finish. Using **drywall fasteners** correctly can also help avoid bowing or sagging in the finished ceiling. Key steps include ensuring all drywall edges align and minimizing gaps, which can complicate finishing later on.
Drywall Hanging Methods: Best Practices
Consider different drywall hanging methods that suit your project size and scope. For standard walls, the method of stacking sheets horizontally is most effective. Always start from the top and work your way down, securing sheets tightly with drywall screws. This vertical approach enhances the structural integrity of walls and allows for easier finishing. If dealing with larger spaces or unique angles, using a lift can significantly optimize your drywall process, making it a safer and more productive experience. Also, always cover joints adequately with tape right after hanging; this can make finishing much smoother.
Common Mistakes During Drywall Installation
Understanding common mistakes during drywall installation is essential for better outcomes. One prevalent issue is misaligned joints which can lead to unsightly gaps post-installation. To avoid this problem, double-check your **drywall layout** before installation and make careful cuts—marking before cutting will save time and materials. Additionally, overusing adhesives or failing to secure screws adequately can compromise the durability of your drywall. Excessive mud application during the finishing phase can also result in a messy end product. Staying aware of these pitfalls can lead to a more professional and satisfying result.
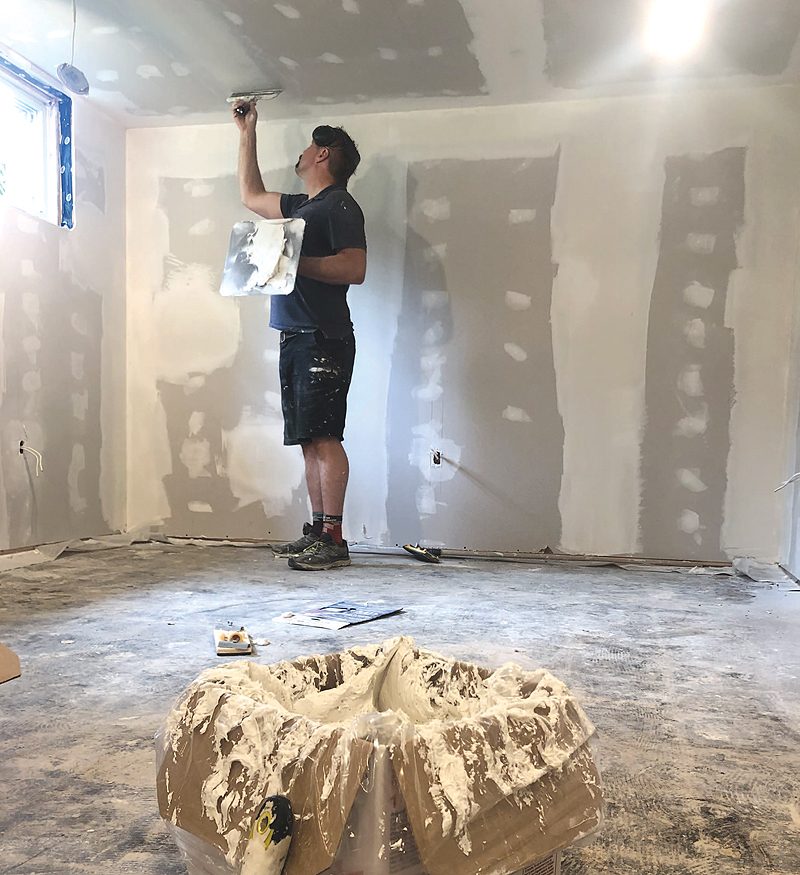
Achieving Flawless Drywall Finishing
Finishing drywall is where the real artistry comes into play, turning mere panels into flawless surfaces. After hanging the sheets, it’s time to apply **drywall compound** to the seams and corners. Using a high-quality joint compound will help hide imperfections between **drywall panels**. By mastering **drywall finishing techniques**, such as feathering and layering, you can create a surface that’s ready for painting or texturing. Moreover, allowing adequate drying time between layers will ensure that your finish is even and smooth.
Applying Drywall Primer and Texture
Before painting, the right **drywall primer** is essential to prep the surface for a uniform finish. Priming helps seal the joint compound, preventing peeling and blotching of the paint later on. Following that, you may choose to add texture to the walls or ceilings using various compounding techniques. Whether opting for a troweled finish or sprayed texture styles, such as knockdown or slap brush, ensure your tools are clean to avoid unwanted patterns. Practice on spare pieces of drywall can yield the best results for novice installers.
Sanding and Final Touches
To achieve that perfectly smooth finish, careful **drywall sanding** is required. After the last coat of joint compound has dried, use a fine-grit sanding block, ensuring consistent pressure across the seams and corners. Smooth any imperfections, but remember to go easy to avoid sanding through the compound. Vacuuming thoroughly afterward can eliminate dust, leaving a clean canvas for painting. Finally, inspect the entire drywall surface for flaws, making necessary repairs as needed to ensure an outstanding outcome.
Key Takeaways
- Preparation is vital to a successful drywall installation, including gathering tools and measuring accurately.
- Choosing the right drywall panels and safety equipment will impact your project’s success.
- Employing effective hanging techniques facilitates easier finishing.
- Finishing touches, including priming and sanding, refine the overall look and ensure quality.
- Continuous learning about common mistakes and best practices can help DIY enthusiasts improve their skills.
FAQ
1. What are some common drywall tools required for installation?
A variety of tools are essential for successful drywall installation. Common tools include drywall screw guns, utility knives for cutting drywall, T-squares for precise measurements, and drywall lifts for ceiling installations particularly. A **drywall tools list** can help ensure you have everything needed for a seamless project.
2. How can I avoid mistakes during drywall installation?
To minimize mistakes, take your time during the planning phase and ensure accurate cuttings. Double-check **drywall measurements** before making cuts and ensure proper alignment of supplies. Look out for typical issues such as misaligned joints or improper fastening, and consider using secondhand resources like guides or tutorials for additional assistance.
3. What is the best way to apply drywall primer?
Applying a **drywall primer** starts with ensuring the surface is clean. Use a roller for larger areas but you may want to use a brush for corners and edges, promoting an even coat. Allow the primer ample drying time before adding paint to help ensure it adheres well and provides a uniform finish.
4. Are there safer drywall installation practices?
Yes, ensuring drywall **safety equipment** such as masks, goggles, and gloves can protect against dust and particles during installation. Additionally, attempting to use safe lifting techniques, particularly when working with heavy panels or on ladders, minimizes the risk of injury significantly.
5. What are the benefits of using specific drywall types for projects?
Using specific drywall types, like moisture-resistant boards in high-humidity areas or fire-rated sheets in places requiring higher safety standards, enhances the durability and functionality of your project. By selecting the right **drywall options**, you can improve your structures’ longevity and contribute to a safer environment.